| Ligne 59 : | Ligne 59 : | ||
|Step_Picture_03=Assemblage_vantail_IMG_2036.JPG | |Step_Picture_03=Assemblage_vantail_IMG_2036.JPG | ||
|Step_Picture_04=Assemblage_vantail_IMG_2041.JPG | |Step_Picture_04=Assemblage_vantail_IMG_2041.JPG | ||
| + | }} | ||
| + | {{Tuto Step | ||
| + | |StepType=Normal | ||
| + | |Step_Title=Installation des cales de closoirs - montant serrure | ||
| + | |Step_Content=<br /> | ||
| + | |||
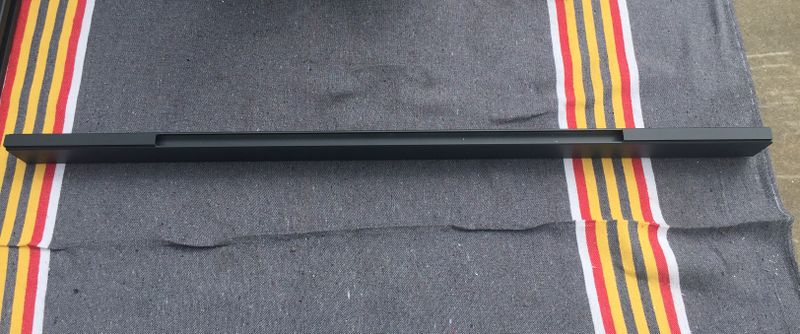
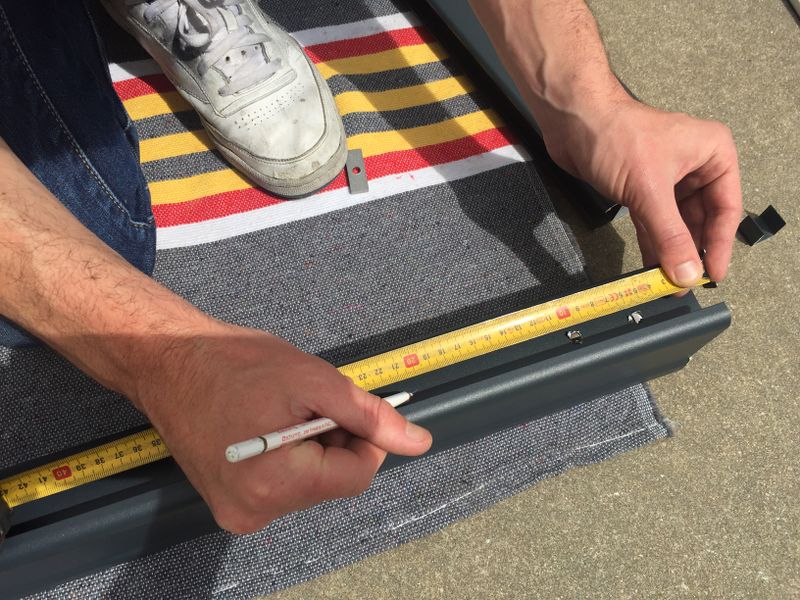
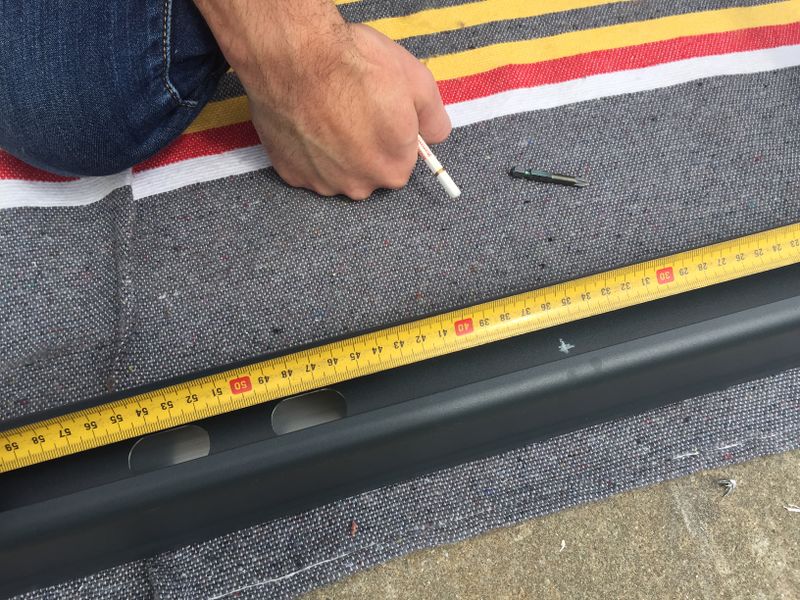
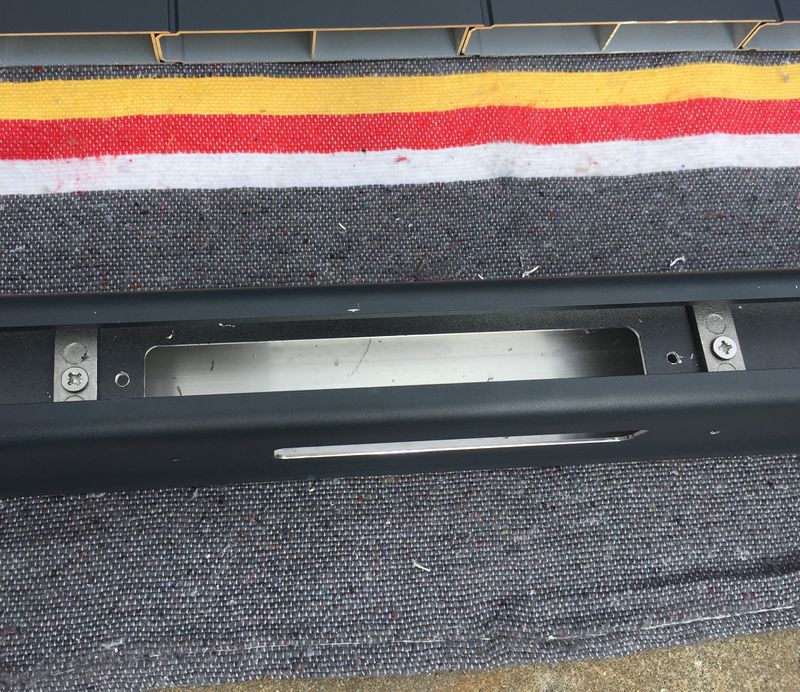
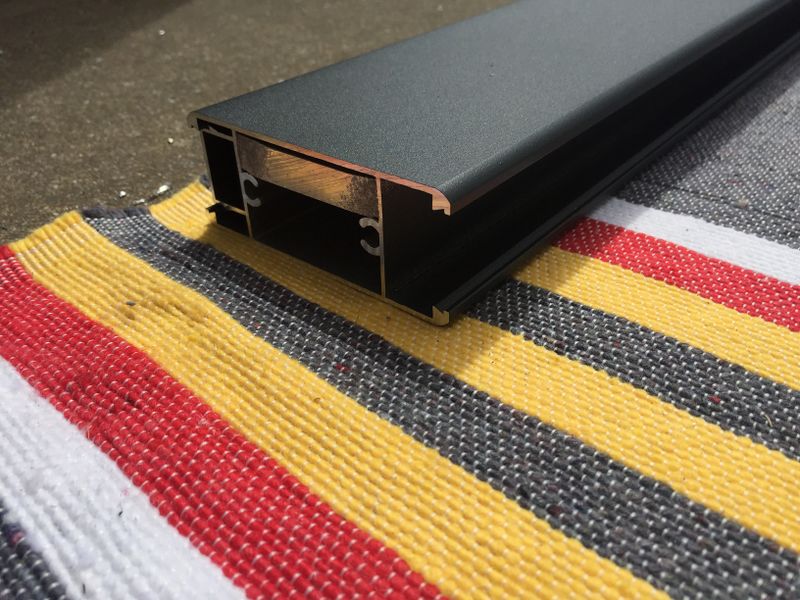
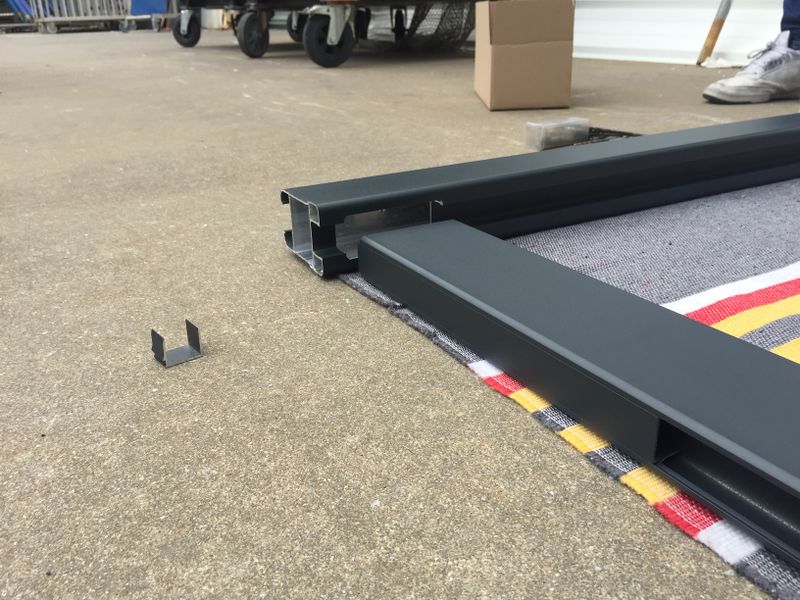
| + | * Tracez l'emplacement des perçages à 30mm de part et d'autre de l'usinage de la serrure, ainsi qu'à 200mm des extrémités, puis répartir le reste des perçages environ tous les 350mm | ||
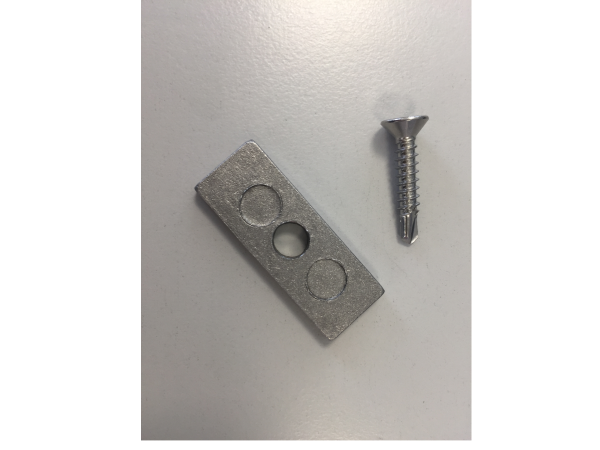
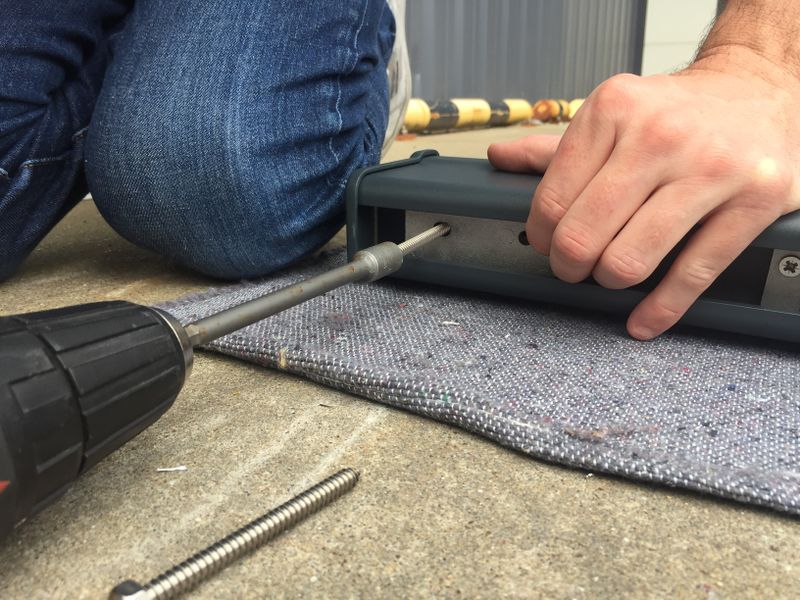
| + | * Perçages et vissage voir étape 3 | ||
| + | |Step_Picture_00=Assemblage_vantail_IMG_2158.JPG | ||
| + | |Step_Picture_01=Assemblage_vantail_IMG_2033.JPG | ||
| + | |Step_Picture_02=Assemblage_vantail_IMG_2127.JPG | ||
| + | |Step_Picture_03=Assemblage_vantail_IMG_2036.JPG | ||
| + | |Step_Picture_04=Assemblage_vantail_IMG_2130.JPG | ||
}} | }} | ||
{{Tuto Step | {{Tuto Step | ||
| Ligne 109 : | Ligne 122 : | ||
|StepType=Normal | |StepType=Normal | ||
|Step_Title=Mise en place du second montant | |Step_Title=Mise en place du second montant | ||
| − | |Step_Content=* Placez le second montant en encastrant les traverses et les lames | + | |Step_Content=*Placez le second montant en encastrant les traverses et les lames |
| − | * Vissez l'ensemble (voir étape 4) | + | *Vissez l'ensemble (voir étape 4) |
| + | *Enfoncez la bague nylon (blanche) dans l'embout | ||
|Step_Picture_00=Assemblage_vantail_IMG_2077.JPG | |Step_Picture_00=Assemblage_vantail_IMG_2077.JPG | ||
|Step_Picture_01=Assemblage_vantail_IMG_2046.JPG | |Step_Picture_01=Assemblage_vantail_IMG_2046.JPG | ||
| + | |Step_Picture_02=Assemblage_vantail_IMG_2110.JPG | ||
| + | |Step_Picture_02_annotation={"version":"3.5.0","objects":[{"type":"image","version":"3.5.0","originX":"left","originY":"top","left":-56,"top":-42,"width":3264,"height":2448,"fill":"rgb(0,0,0)","stroke":null,"strokeWidth":0,"strokeDashArray":null,"strokeLineCap":"butt","strokeDashOffset":0,"strokeLineJoin":"miter","strokeMiterLimit":4,"scaleX":0.2,"scaleY":0.2,"angle":0,"flipX":false,"flipY":false,"opacity":1,"shadow":null,"visible":true,"clipTo":null,"backgroundColor":"","fillRule":"nonzero","paintFirst":"fill","globalCompositeOperation":"source-over","transformMatrix":null,"skewX":0,"skewY":0,"crossOrigin":"","cropX":0,"cropY":0,"src":"https://communaute.klosea.fr/images/b/b3/Assemblage_vantail_IMG_2110.JPG","filters":[]}],"height":450.3448275862069,"width":600} | ||
}} | }} | ||
{{Tuto Step | {{Tuto Step | ||
|StepType=Normal | |StepType=Normal | ||
| − | |Step_Title= | + | |Step_Title=Finition embout bas |
| − | | | + | |Step_Content=* Retournez le vantail |
| + | * Faites glisser le closoir dans le montant jusqu’à la traverse | ||
| + | * Placez l'embout bas ou "chapeau" | ||
| + | * Percez l'embout avec un forêt de 3mm '''(ne pas percer trop profond sous peine d'endommager la vis)''' il faut juste traverser le closoir de la traverse | ||
| + | * Visser l'embout avec de la vis autoforeuse 4.8 x 50 | ||
| + | * Enfoncez la bague en nylon (blanche) dans l'embout | ||
| + | |Step_Picture_00=Assemblage_vantail_IMG_21121.jpg | ||
| + | |Step_Picture_01=Assemblage_vantail_IMG_2117.JPG | ||
| + | |Step_Picture_01_annotation={"version":"3.5.0","objects":[{"type":"image","version":"3.5.0","originX":"left","originY":"top","left":-93,"top":-71,"width":3264,"height":2448,"fill":"rgb(0,0,0)","stroke":null,"strokeWidth":0,"strokeDashArray":null,"strokeLineCap":"butt","strokeDashOffset":0,"strokeLineJoin":"miter","strokeMiterLimit":4,"scaleX":0.22,"scaleY":0.22,"angle":0,"flipX":false,"flipY":false,"opacity":1,"shadow":null,"visible":true,"clipTo":null,"backgroundColor":"","fillRule":"nonzero","paintFirst":"fill","globalCompositeOperation":"source-over","transformMatrix":null,"skewX":0,"skewY":0,"crossOrigin":"","cropX":0,"cropY":0,"src":"https://communaute.klosea.fr/images/4/4c/Assemblage_vantail_IMG_2117.JPG","filters":[]}],"height":450.187265917603,"width":600} | ||
| + | |Step_Picture_02=Assemblage_vantail_IMG_2119.JPG | ||
| + | |Step_Picture_03=Assemblage_vantail_IMG_2120.JPG | ||
}} | }} | ||
{{Notes}} | {{Notes}} | ||
Version du 17 juillet 2020 à 08:04
Assemblages d'un vantail
Difficulté
Moyen
Durée
45 minute(s)
Personnes
2
Sommaire
- 1 Pièces et outils
- 2 Étape 1 - Préparation du chantier
- 3 Étape 2 - Préparation des traverses
- 4 Étape 3 - Installation des cales de closoirs
- 5 Étape 4 - Installation des cales de closoirs - montant serrure
- 6 Étape 5 - Assemblage montant - traverse haute
- 7 Étape 6 - Placement du renfort (si motorisé ou future motorisation)
- 8 Étape 7 - Assemblage montant - traverse basse
- 9 Étape 8 - Mise en place des lames
- 10 Étape 9 - Mise en place du second montant
- 11 Étape 10 - Finition embout bas
- 12 Commentaires
- Pièces et outils
Pièces et outils
Maillet
Outil fait d'une masse dure emmanchée en son milieu et qui sert à frapper, à enfoncer.
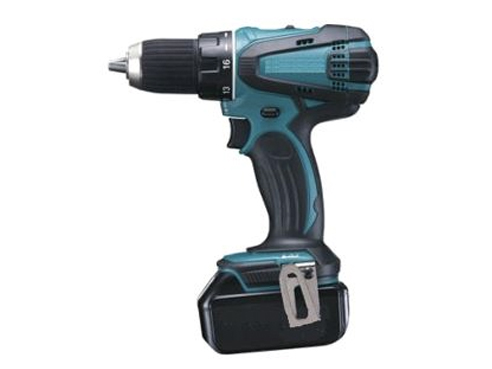
Visseuse
Une visseuse ou tournevis (électrique) est une machine-outil qui permet de visser et dévisser, assisté par un moteur (électrique), se basant sur le même principe que la perceuse, et possédant un limiteur de couple.
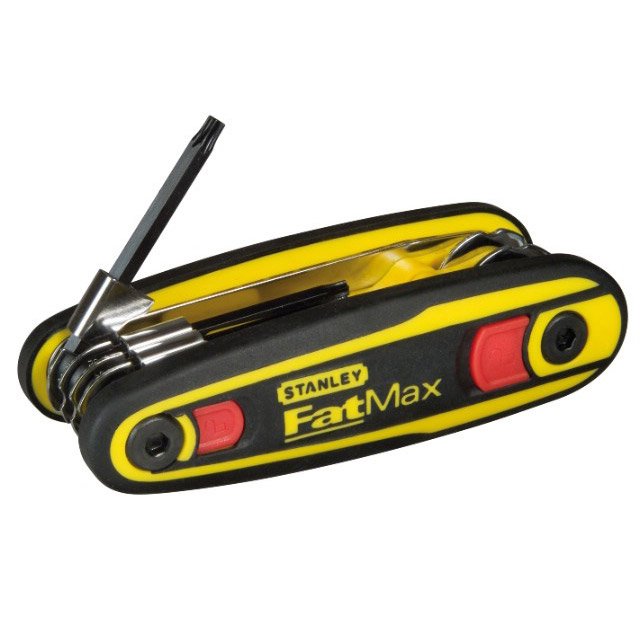
Clefs allen et torx
Clefs caractérisées par une tête en forme d'étoile à six branches
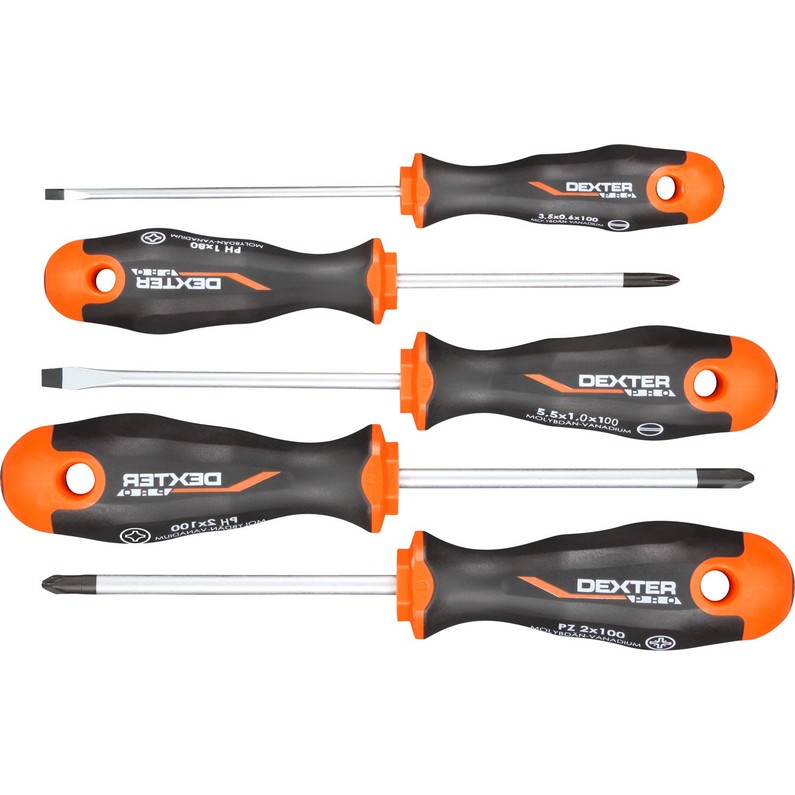
Tournevis
Outil emmanché comportant une tige cylindrique en acier dont l'extrémité est adaptée pour visser ou dévisser des vis.
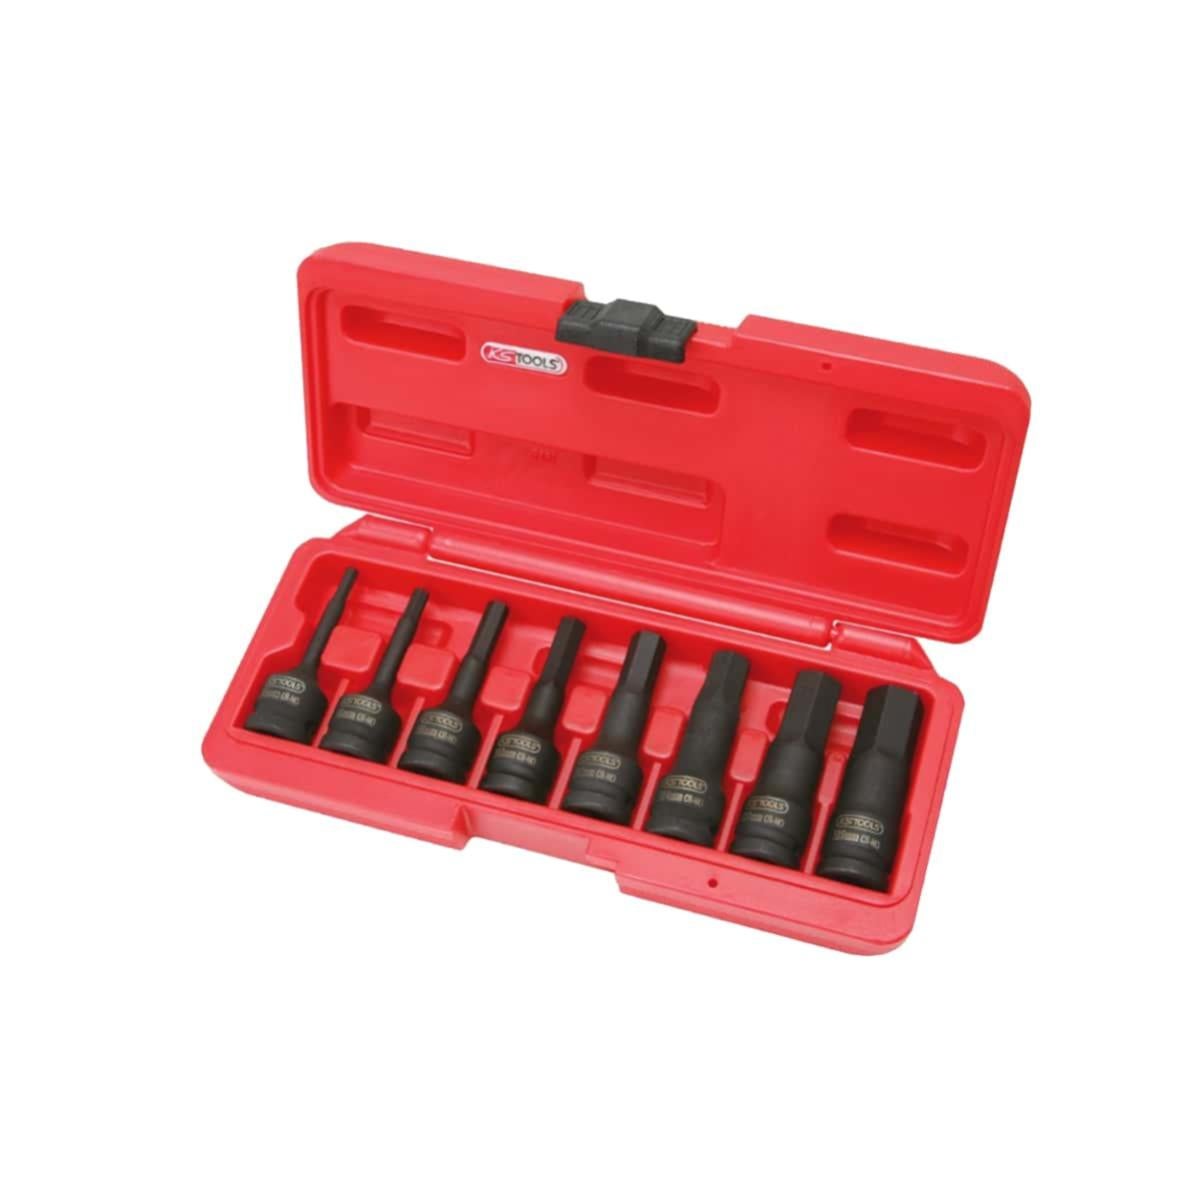
Douille visseuse
Outil, permettant le vissage et dévissage, d'une vis à tête hexagonale
Forêt métal Ø3mm
Outil de perçage dans du métal (Ø3mm)
Étape 2 - Préparation des traverses
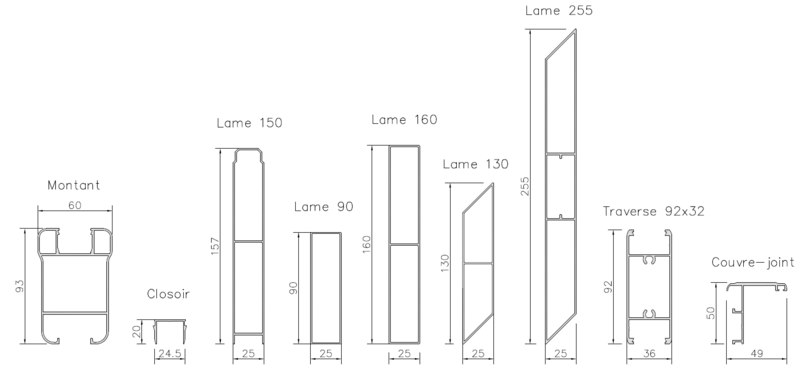
- Réalisez 2 perçages d'eau traversants (ø 6mm) aux extrémités des traverses à 30mm du bords
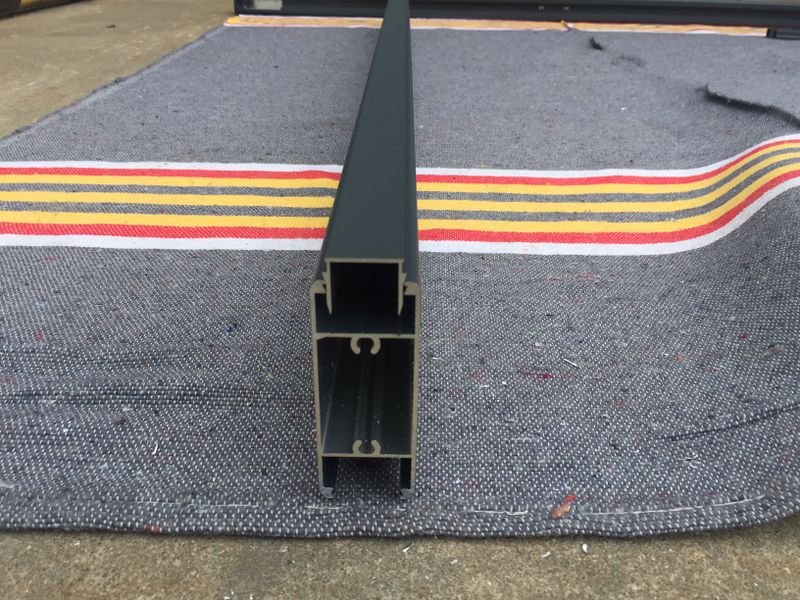
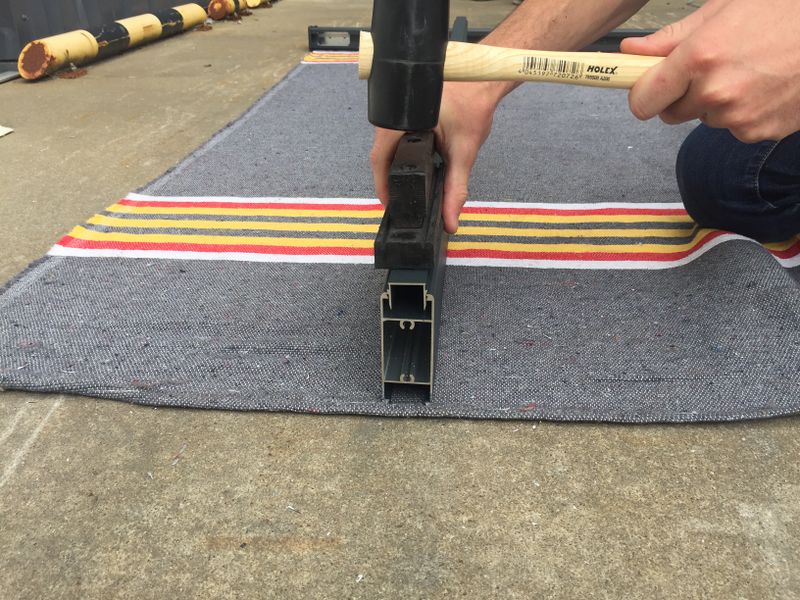
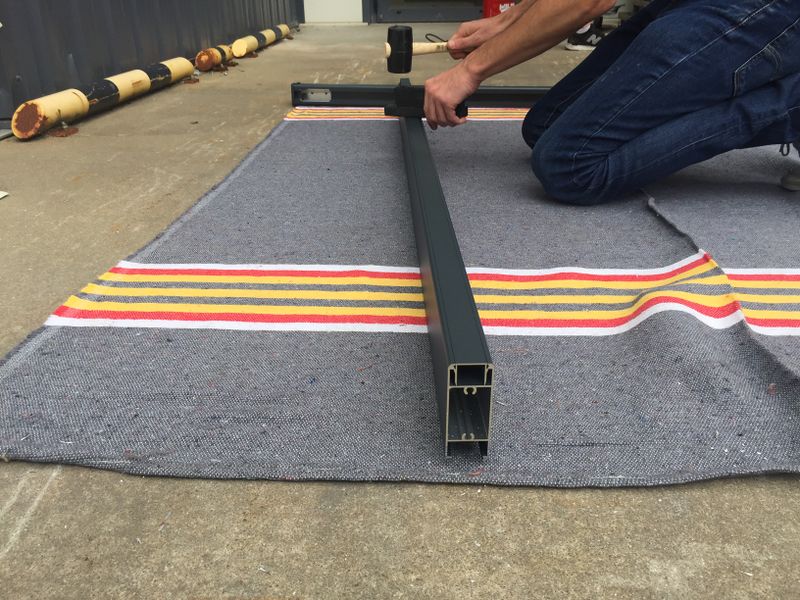
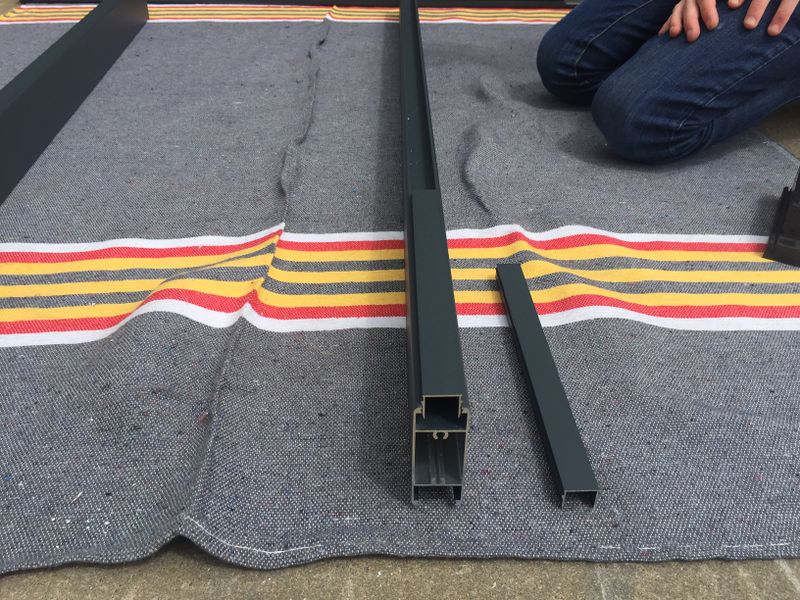
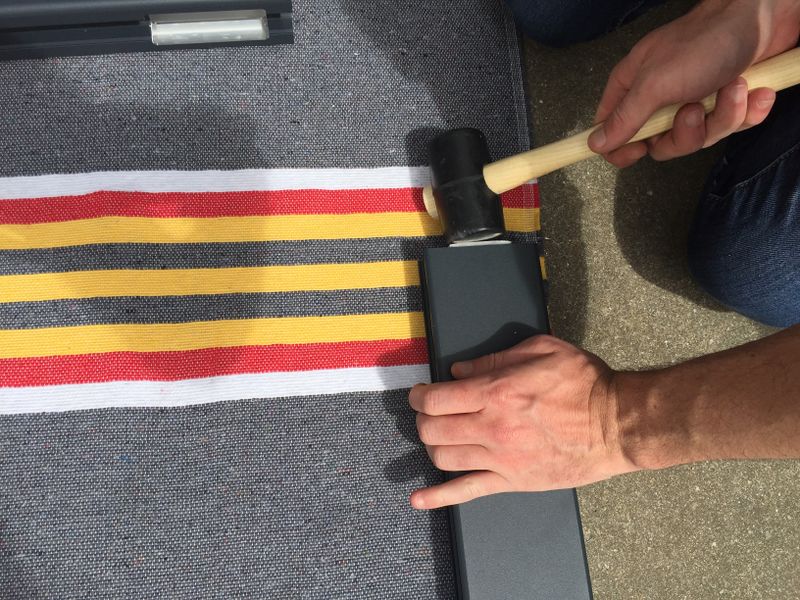
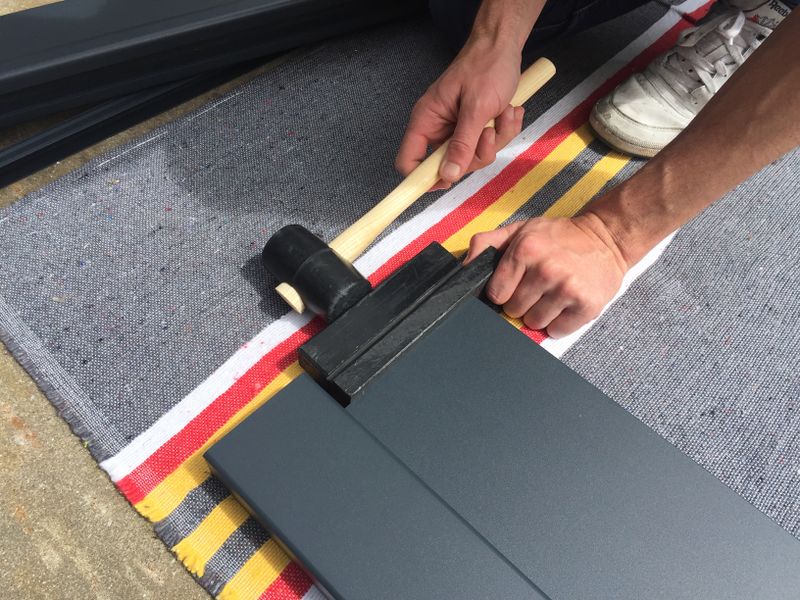
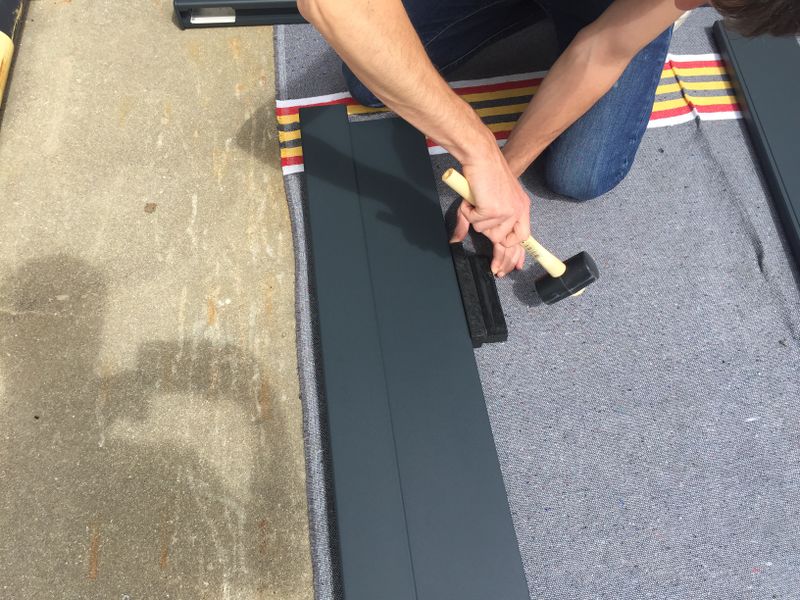
- Mise en place des closoirs avec un maillet et une cale
- Encastrez le closoir de la longueur de la traverse dans la traverse haute
- Encastrez les 2 closoirs de 300mm aux extrémités de la traverse basse
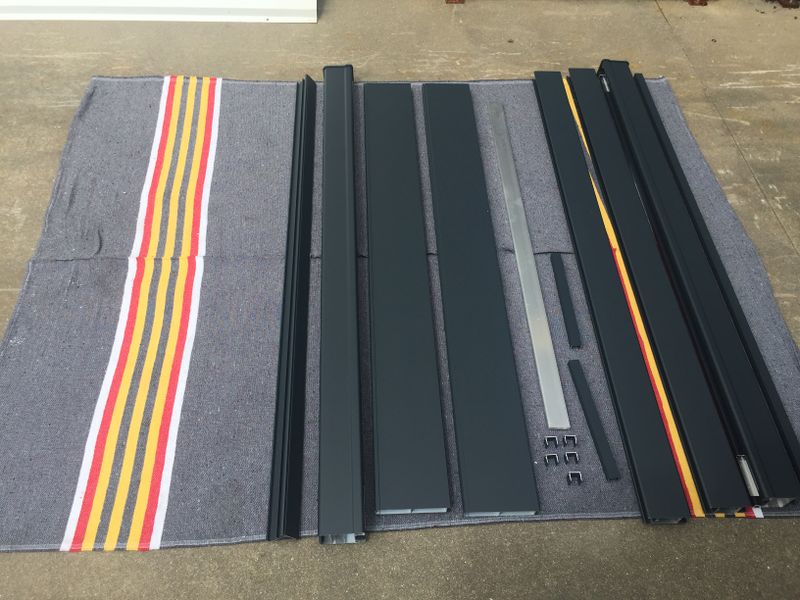
Étape 3 - Installation des cales de closoirs
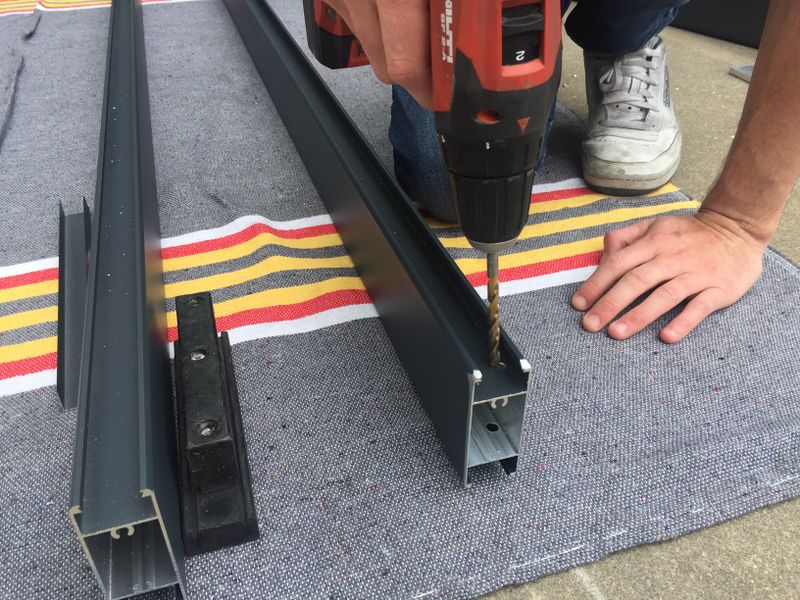
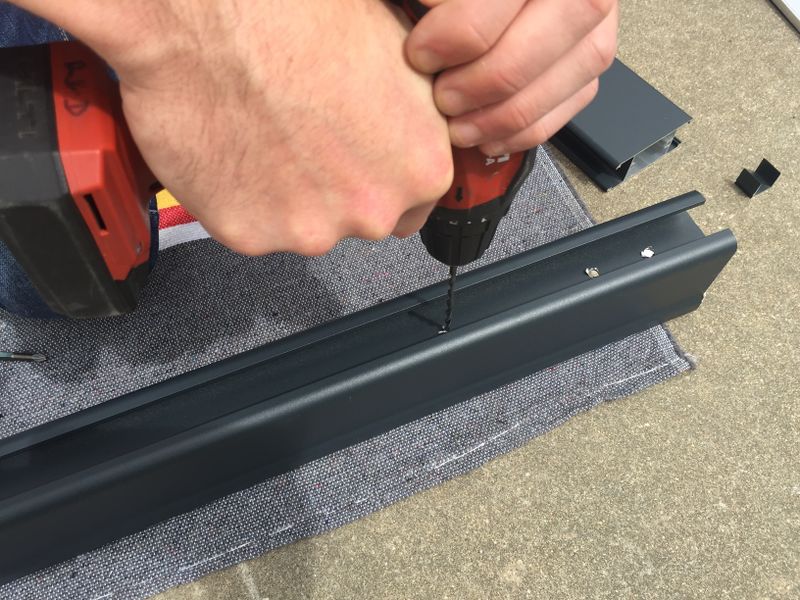
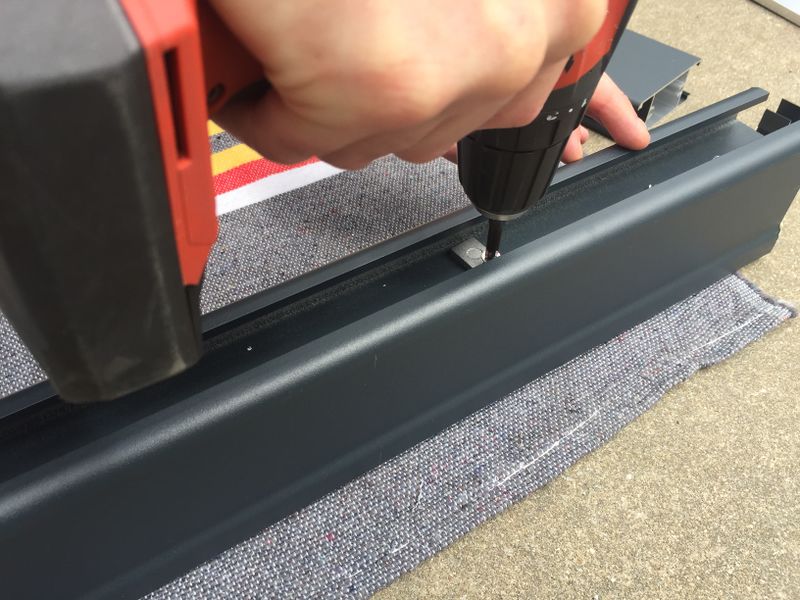
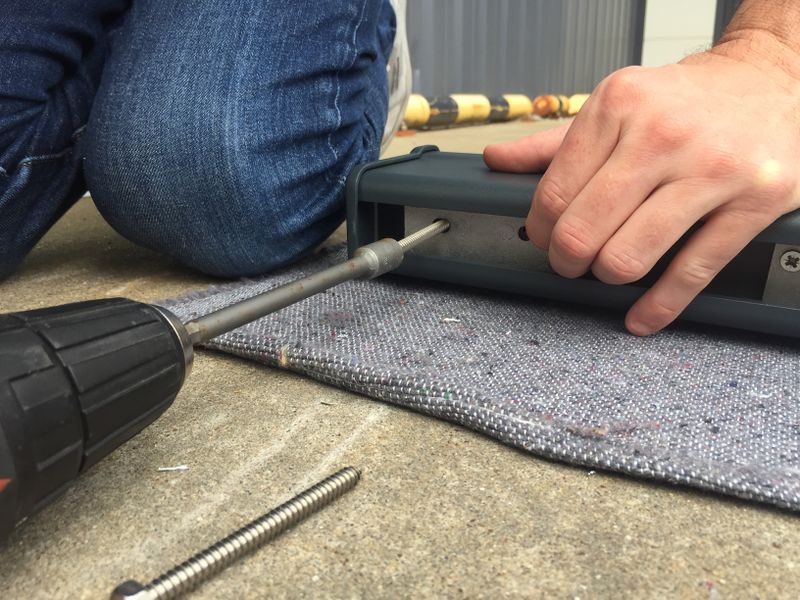
- Tracez l’emplacement des perçages à 200mm des extrémités et ensuite environ tous les 350mm
- Percez avec un foret ø3mm
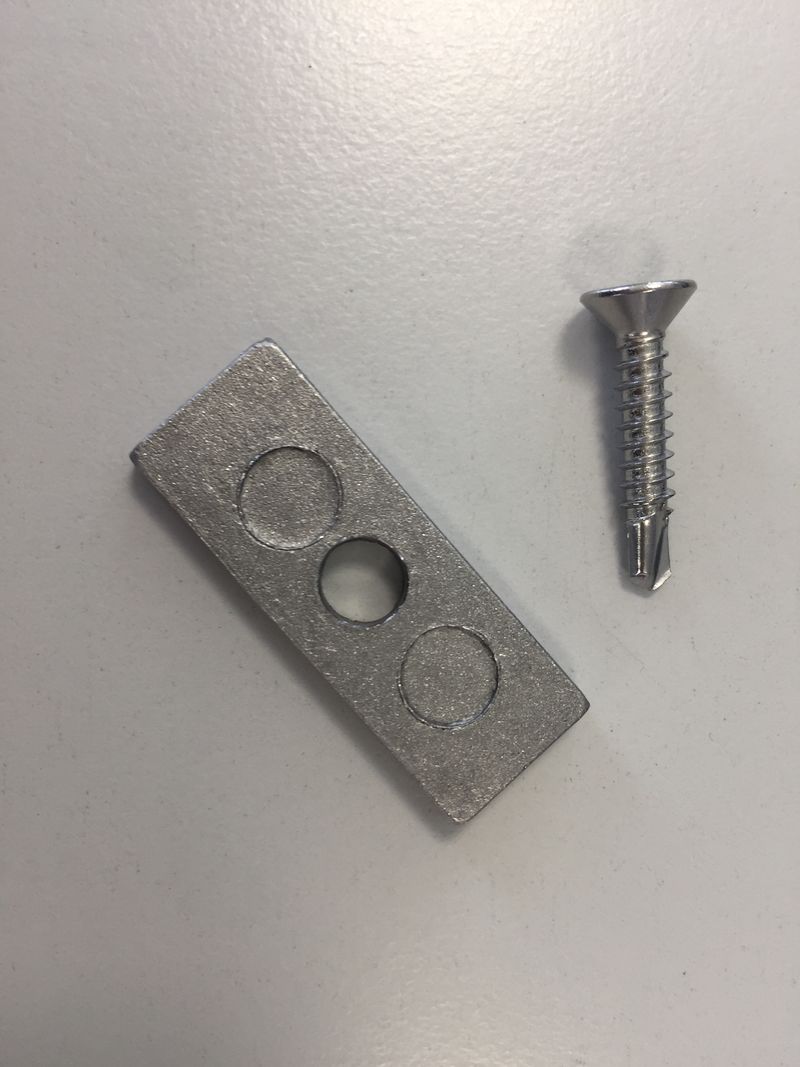
- Vissez les cales en les conservant les plus droite possible
Étape 4 - Installation des cales de closoirs - montant serrure
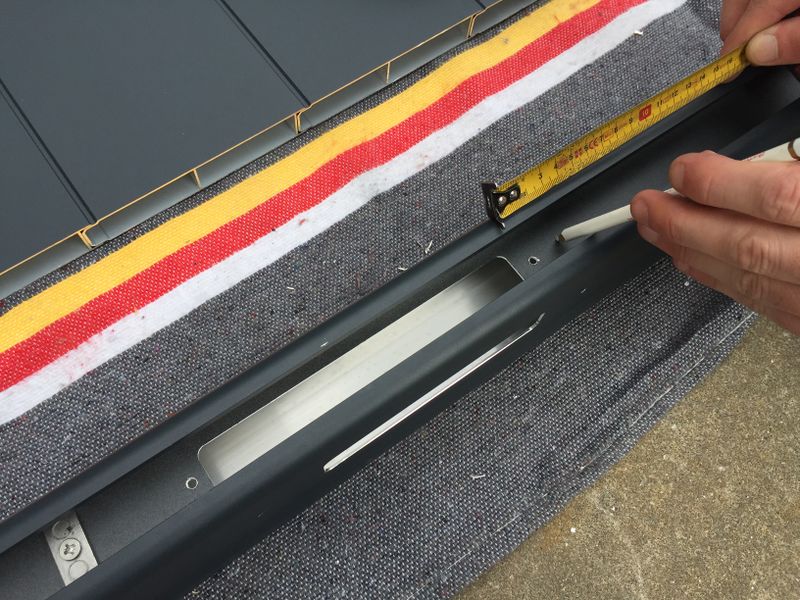
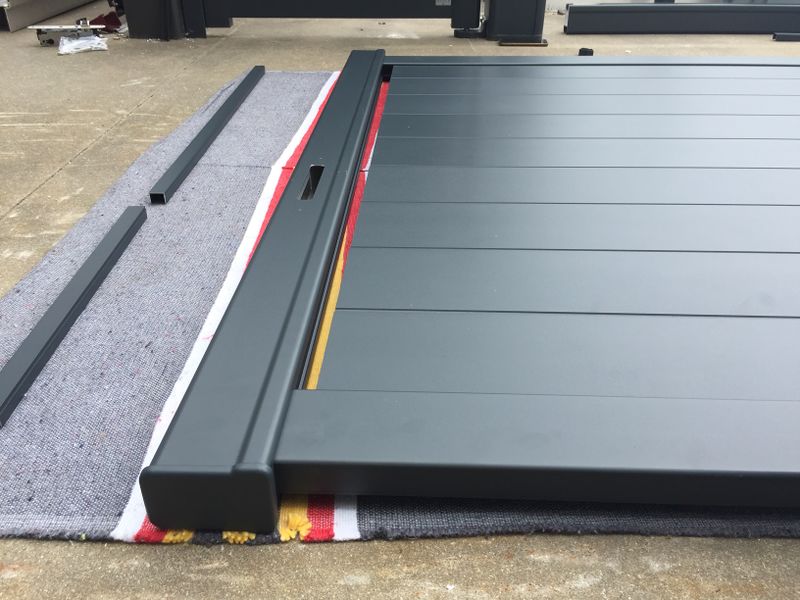
- Tracez l'emplacement des perçages à 30mm de part et d'autre de l'usinage de la serrure, ainsi qu'à 200mm des extrémités, puis répartir le reste des perçages environ tous les 350mm
- Perçages et vissage voir étape 3
Étape 5 - Assemblage montant - traverse haute
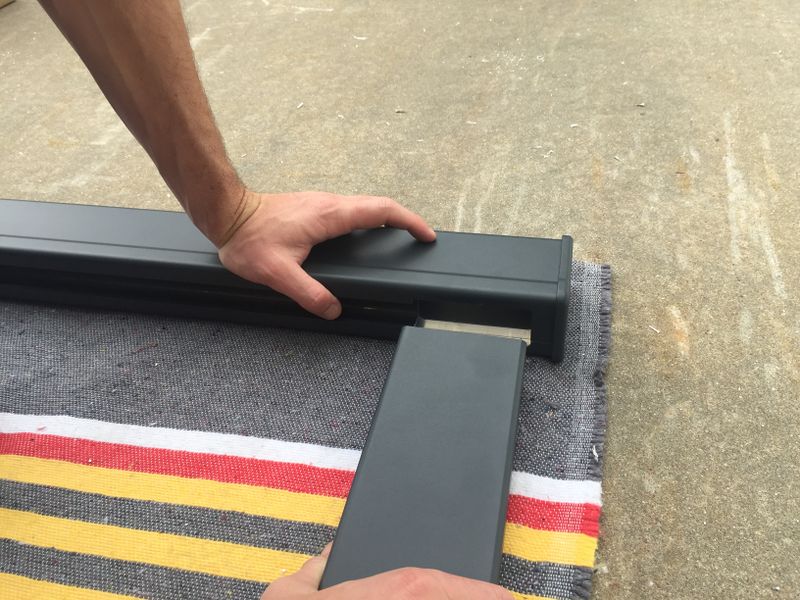
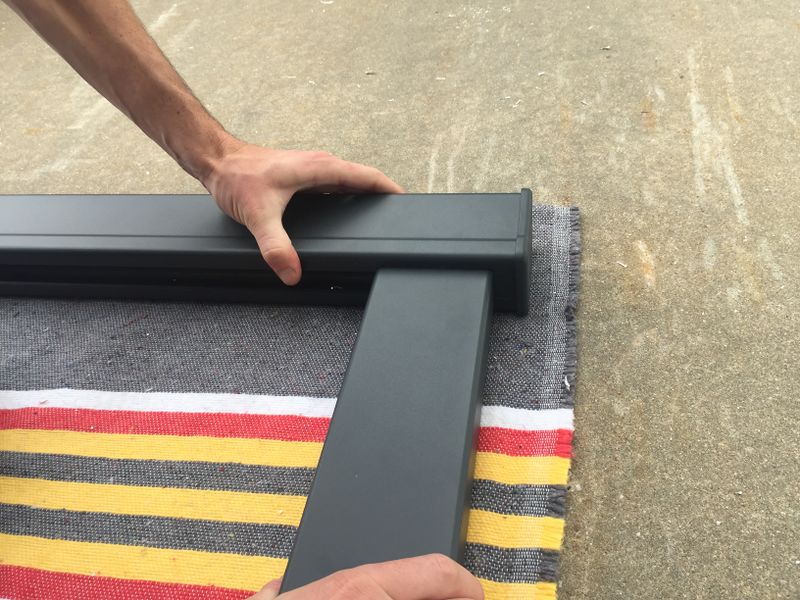
- Encastrez le closoir en haut du montant jusqu'au chapeau
- Présentez la traverse haute (celle avec le closoir toute longueur)
- Encastrez le montant jusqu'au fond de la mortaise
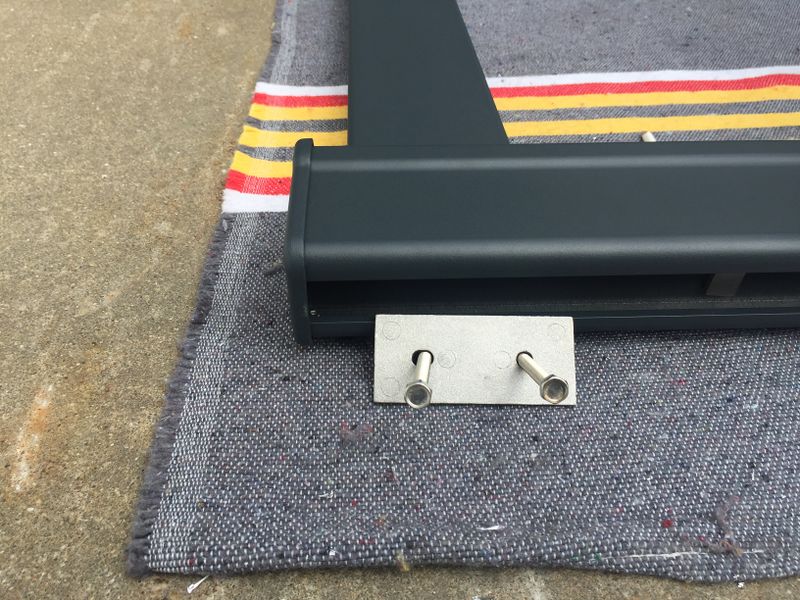
- Placez la plaque de vissage dans la rainure en face des perçages
- Vissez l'ensemble avec les vis TH (tête hexagonale) 6,3 x 70mm
Étape 6 - Placement du renfort (si motorisé ou future motorisation)
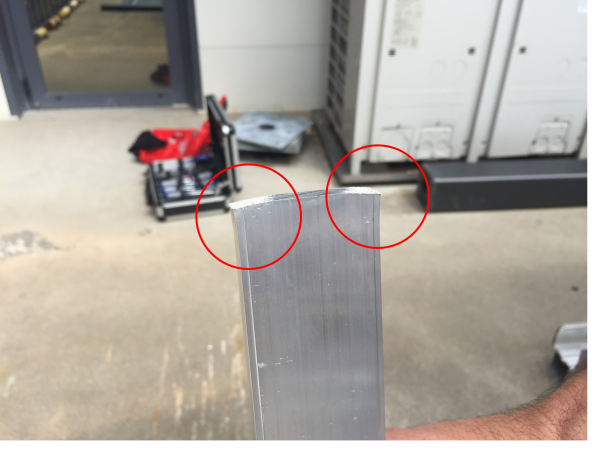
- Déformez les angles d'une extrémité du renfort 49 x 10 avec un marteau
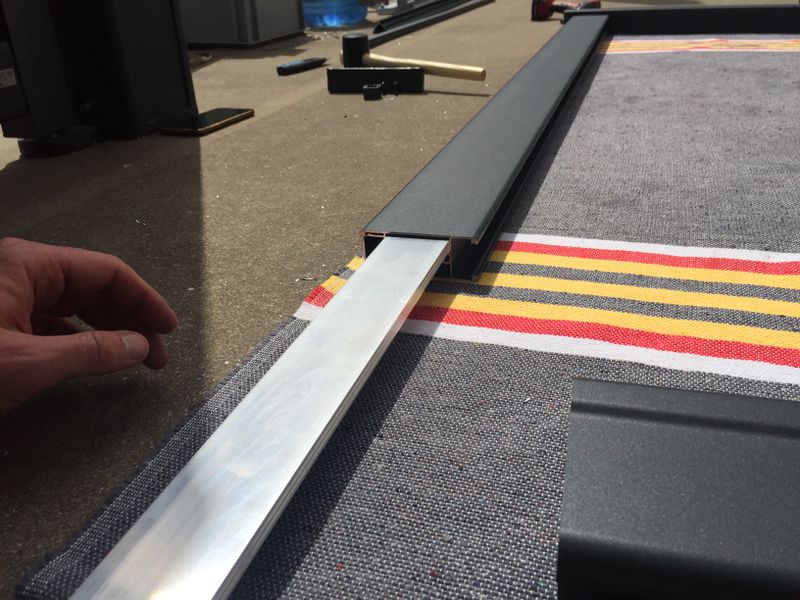
- Insérez le renfort dans la traverse (insérer d'abord le côté non déformé)
- Le renfort doit être à fleur de la traverse
Étape 7 - Assemblage montant - traverse basse
- Placez la traverse basse avec les closoirs de 300mm vers le bout du montant
- Reprendre l'étape 4 pour la fixation
Étape 8 - Mise en place des lames
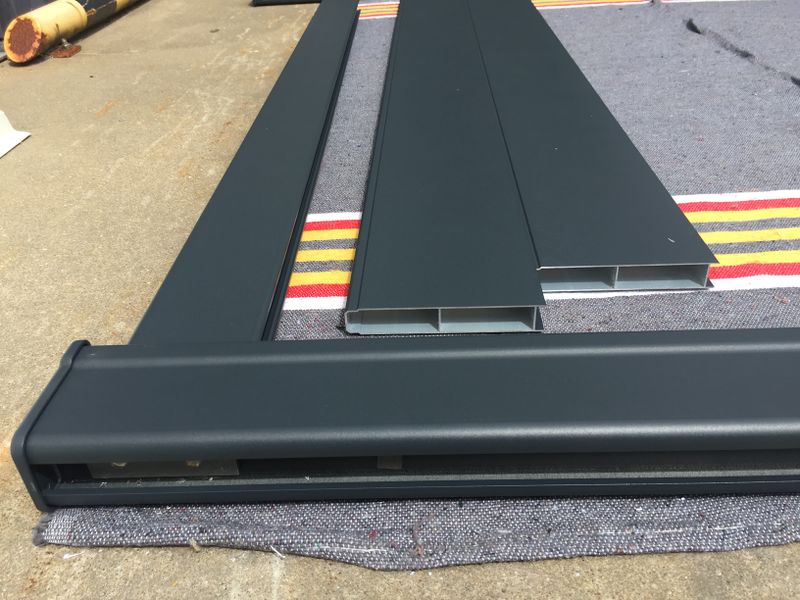
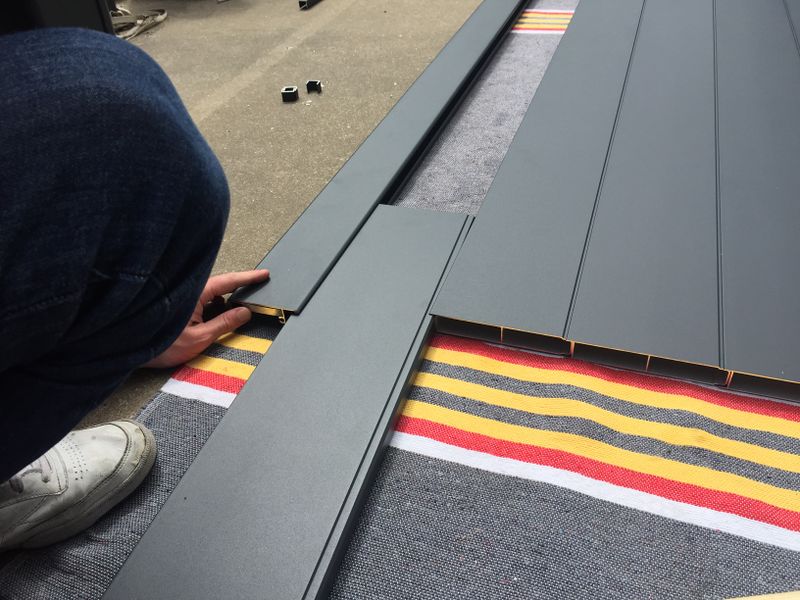
- Encastrez la première lame dans la rainure de la traverse haute et du montant
- Empilez ensuite le reste des lames
Étape 9 - Mise en place du second montant
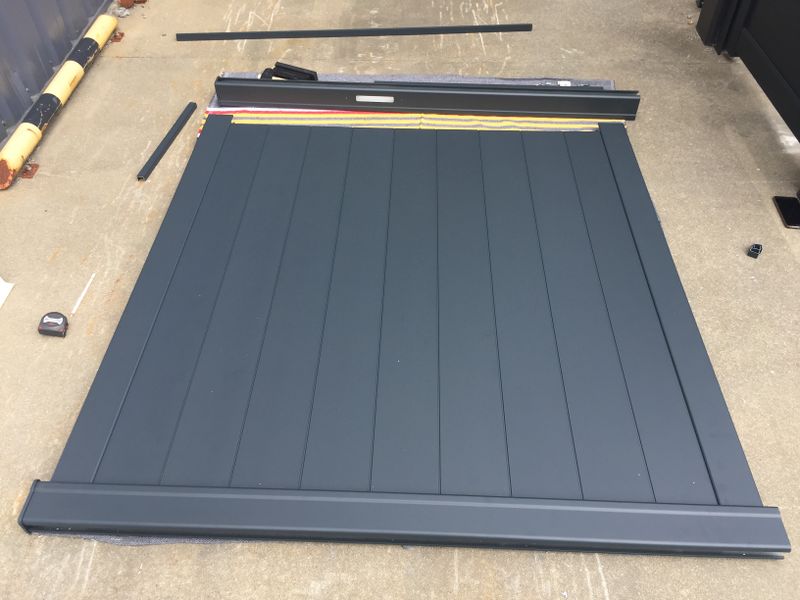
- Placez le second montant en encastrant les traverses et les lames
- Vissez l'ensemble (voir étape 4)
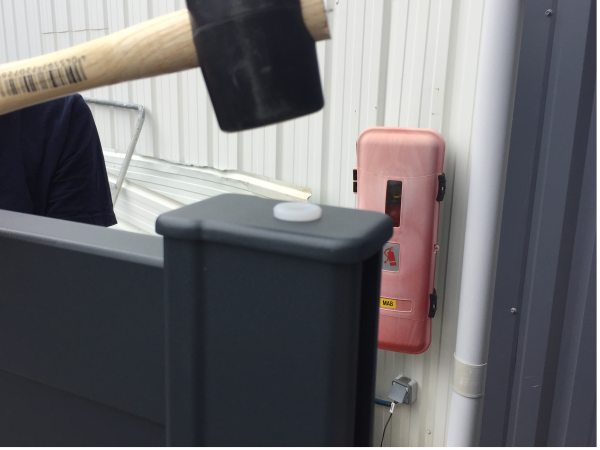
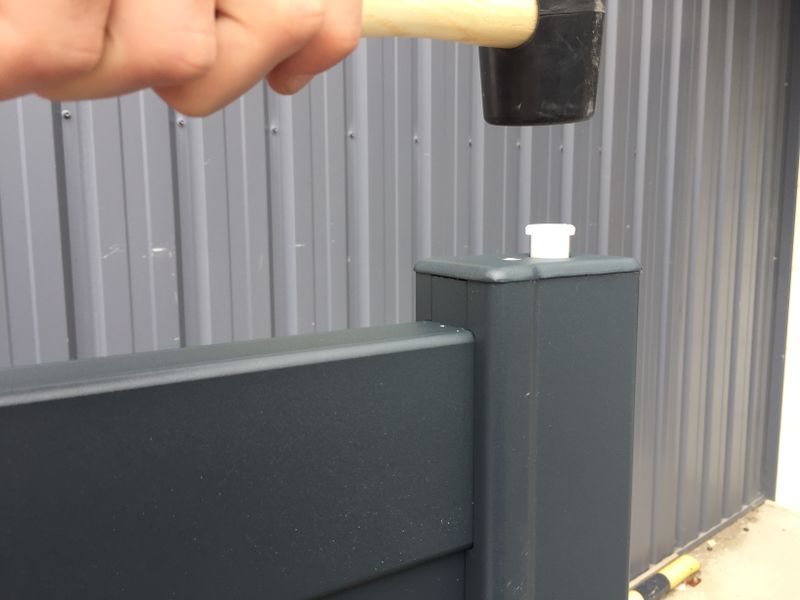
- Enfoncez la bague nylon (blanche) dans l'embout
Étape 10 - Finition embout bas
- Retournez le vantail
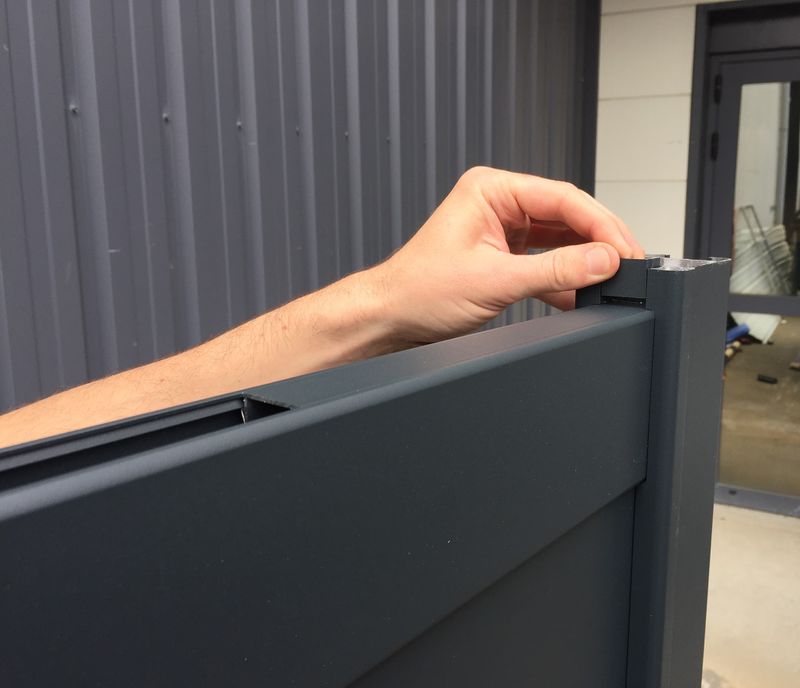
- Faites glisser le closoir dans le montant jusqu’à la traverse
- Placez l'embout bas ou "chapeau"
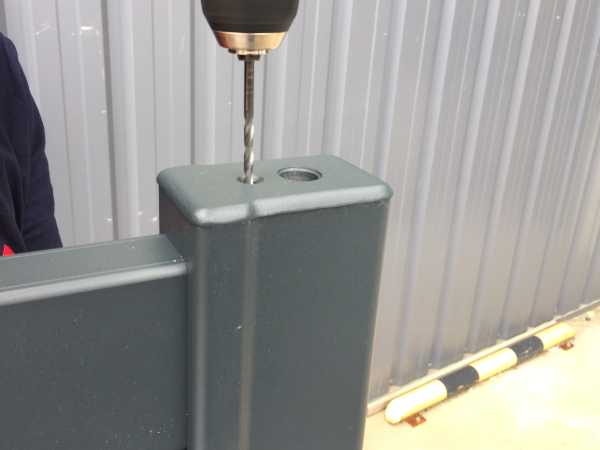
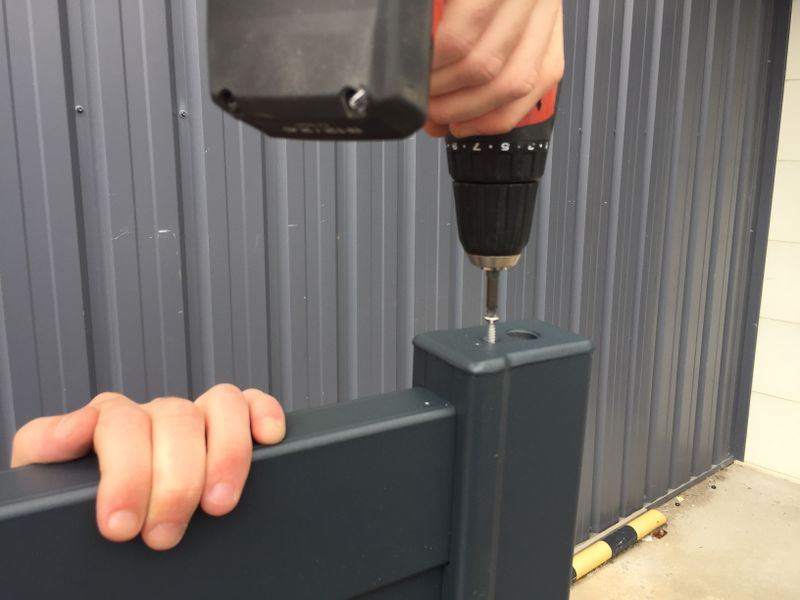
- Percez l'embout avec un forêt de 3mm (ne pas percer trop profond sous peine d'endommager la vis) il faut juste traverser le closoir de la traverse
- Visser l'embout avec de la vis autoforeuse 4.8 x 50
- Enfoncez la bague en nylon (blanche) dans l'embout
Draft
